These are my quilty scraps.
Also known as -
my little bits of happiness:)
They are cut from all of my quilty project leftovers.
I use them all the time and make lots of fun projects from them.
These are the shelves in
my studio where I keep my fabric.
I keep my fabric in baskets by color.
You can see the smaller baskets on top...
inside those are my little quilty scraps!
When I buy fabric...
I usually buy fat quarters and sometimes 1/2 yard cuts.
It all goes into the larger baskets
when I bring it home from the quilt shop.
I buy larger cuts of fabric for sashings, borders,
binding and backing
as I need them per project.
When I am cutting for a project and I happen to have used most of a fat quarter...
instead of returning it to it's color basket...
I cut it into smaller strips or even just a square or two...
if that's all that is left.
I do not throw it out unless it's smaller than 1 1/2".
No...this is not a garbage can:)
It's where I put all of the leftovers that are
too small to go back in the large baskets.
When it's about halfway full,
I go through it,
cut up the pieces that I haven't cut into strips and squares yet,
and put them all into my scrap baskets according to strip or square size.
It's a good system for me that has worked
so well throughout my quilting years:)
The three sizes that I use the most and keep in these small baskets are
1 1/2" strips and squares...
2 1/2" strips and squares...
And 3 1/2" strips and squares.
(I also keep 5", 7" and 10" squares in one of the larger baskets on my shelves)
These are my go to baskets when I am making any scrappy project.
I go to these first so that I don't have
to cut one or two little squares out of my larger pieces.
I hate that!!
Using and buying fabric in this way
gives me a great variety in color and prints.
And
it makes my mom and my grandma's proud!
Use it up
wear it out
make it do
or do without...:)
I just love having precut squares and strips at
my finger tips at any given time...
all cut and ready to sew
in all of my happy colors.
For me...
just having a stack of 3 1/2" squares like these
means the possibilities are endless!
Having them gives me the same feeling that
I had as a little girl
with a new box of crayons:)
So let me tell you about one of the ways that I use my little bits of happiness.
I make scrappy blocks of course!
Lots of scrappy blocks.
I make them into what I like to call
"Bonus Quilts"
For example...
just yesterday I posted
for my Bitty Scrap Around Block.
I cut it out of my 1 1/2" and 2 1/2" scraps.
I had several of these blocks made already
because I have been using them as my current
bonus quilt project.
I've blogged several times about how I use starters and stoppers when I sew...
to see one of those posts if you don't know what I'm talking about!
(I'll wait...:)
Okay...got it?
Now back to the Bitty Scrap Around blocks.
As I said...
I always have a scrappy
starters and stoppers project going and I'm now making several of my
Bitty Scrap Around blocks.
Above are the pieces that I cut for the
blocks from my 2 1/2" basket....
2 1/2" squares for the centers
and
1 1/2" x 2 1/2" strips for the sides.
I cut the additional pieces for the blocks
from my 1 1/2" basket...
4 1/2" strips and
6 1/2" strips.
I don't really count how many pieces that I cut...
I just cut up a bunch in the sizes needed for the block.
When I'm running low...
I simply grab my baskets and quickly cut more to
continue with the same blocks.
After one particular project is complete...
I decide on a new one and start cutting again!!!
I keep this vintage muffin tin next to my sewing machine
when I am chain piecing
so that the pieces are handy to just pick up and
use as my current bonus quilt project.
You can see that by using starters and stoppers
each time I'm sewing...
I quickly have a pile of
scrappy happy blocks to make into
a bonus quilt...
a runner...
a bag...
or even a pillow!
When one size of my
"little bits of happiness"
basket is getting a little full...
I plan a project that will use up several
of that strip or square size
and cut pieces for my
next bonus quilt.
That's why I chose to
make these small blocks and call them
"Bitty Scrap Around's"...
(they finish at 6")
because my 1 1/2" basket was getting pretty full!
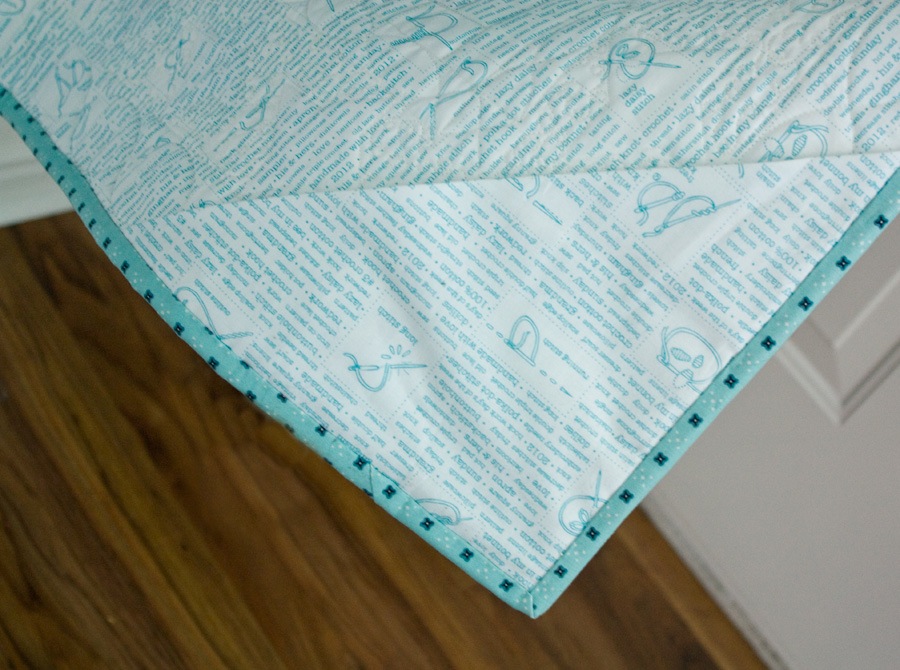
This is a quilt that I call my
"Scrap Around" quilt.
It's really big
(it's folded for the photo)
and our favorite go to quilt for snuggling when watching a movie.
I made it several years ago.
I used my 5" square scraps...
my 2 1/2" and 1 1/2" strips to make it.
I love to put a really fun and
colorful backing on my scrappy quilts:)
Now you can see why I heart my
baskets filled with little bits of happiness...
and why I save them!
I LOVE making something beautiful out of leftovers...
AND
I LOVE saving time and thread by
using starters and stoppers.
I hope I've inspired you to do the same!
Save your Scraps.
The secret to "using" them
instead of just "saving" them
is to cut them into usable sizes and keep them organized.
Once you've done that...
you will be surprised at how many
scrappy happy projects you can make!
Let me know what you think about the
latest "from my quilty studio" tutorial.
Do you believe in saving scraps?
My next tutorial will be all about using my vintage irons!
Have a quilty kind of day!
xx
Lori


