

Mercantile Sampler Quilt
"THE BIG FINISH!!"

Welcome to the BIG FINISH of the
"MERCANTILE SAMPLER"
Sew Along!
I hope that you have enjoyed
joining me here on my blog each week
as I did each block tutorial!!

Mercantile Sampler Quilt
88" x 88"

.jpeg)

The quilt was made with my fabric
collection called Mercantile:)

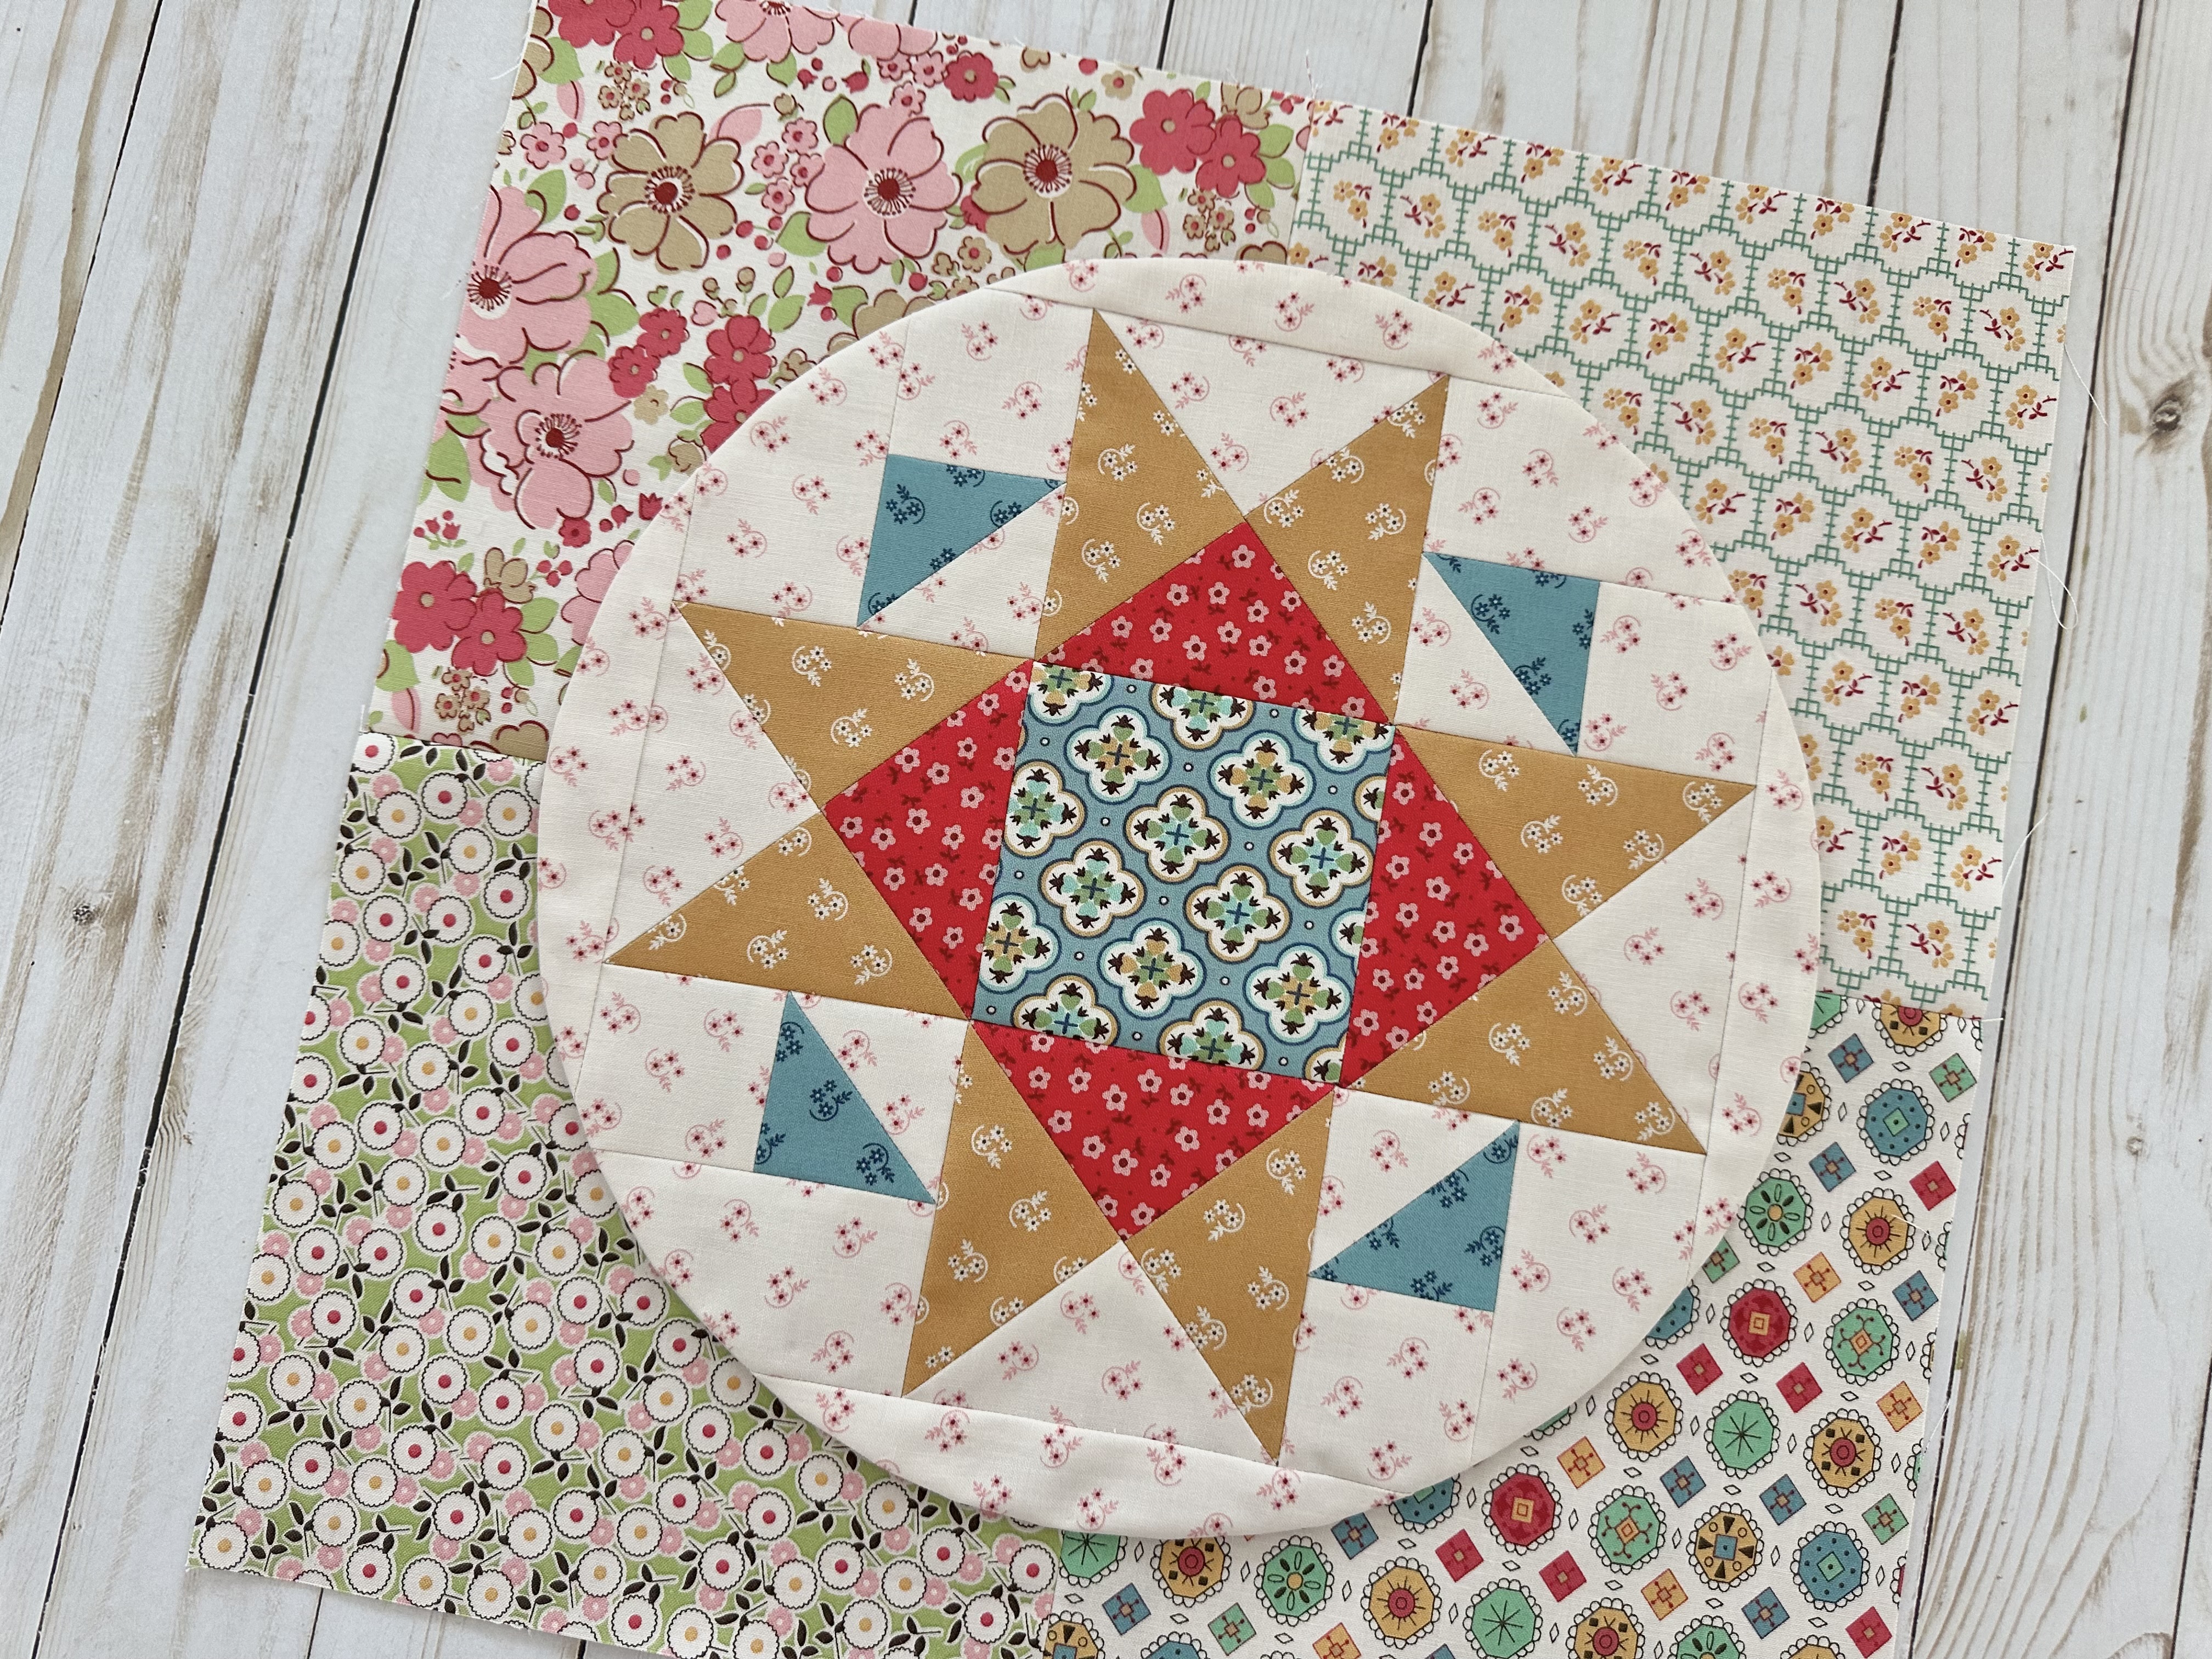
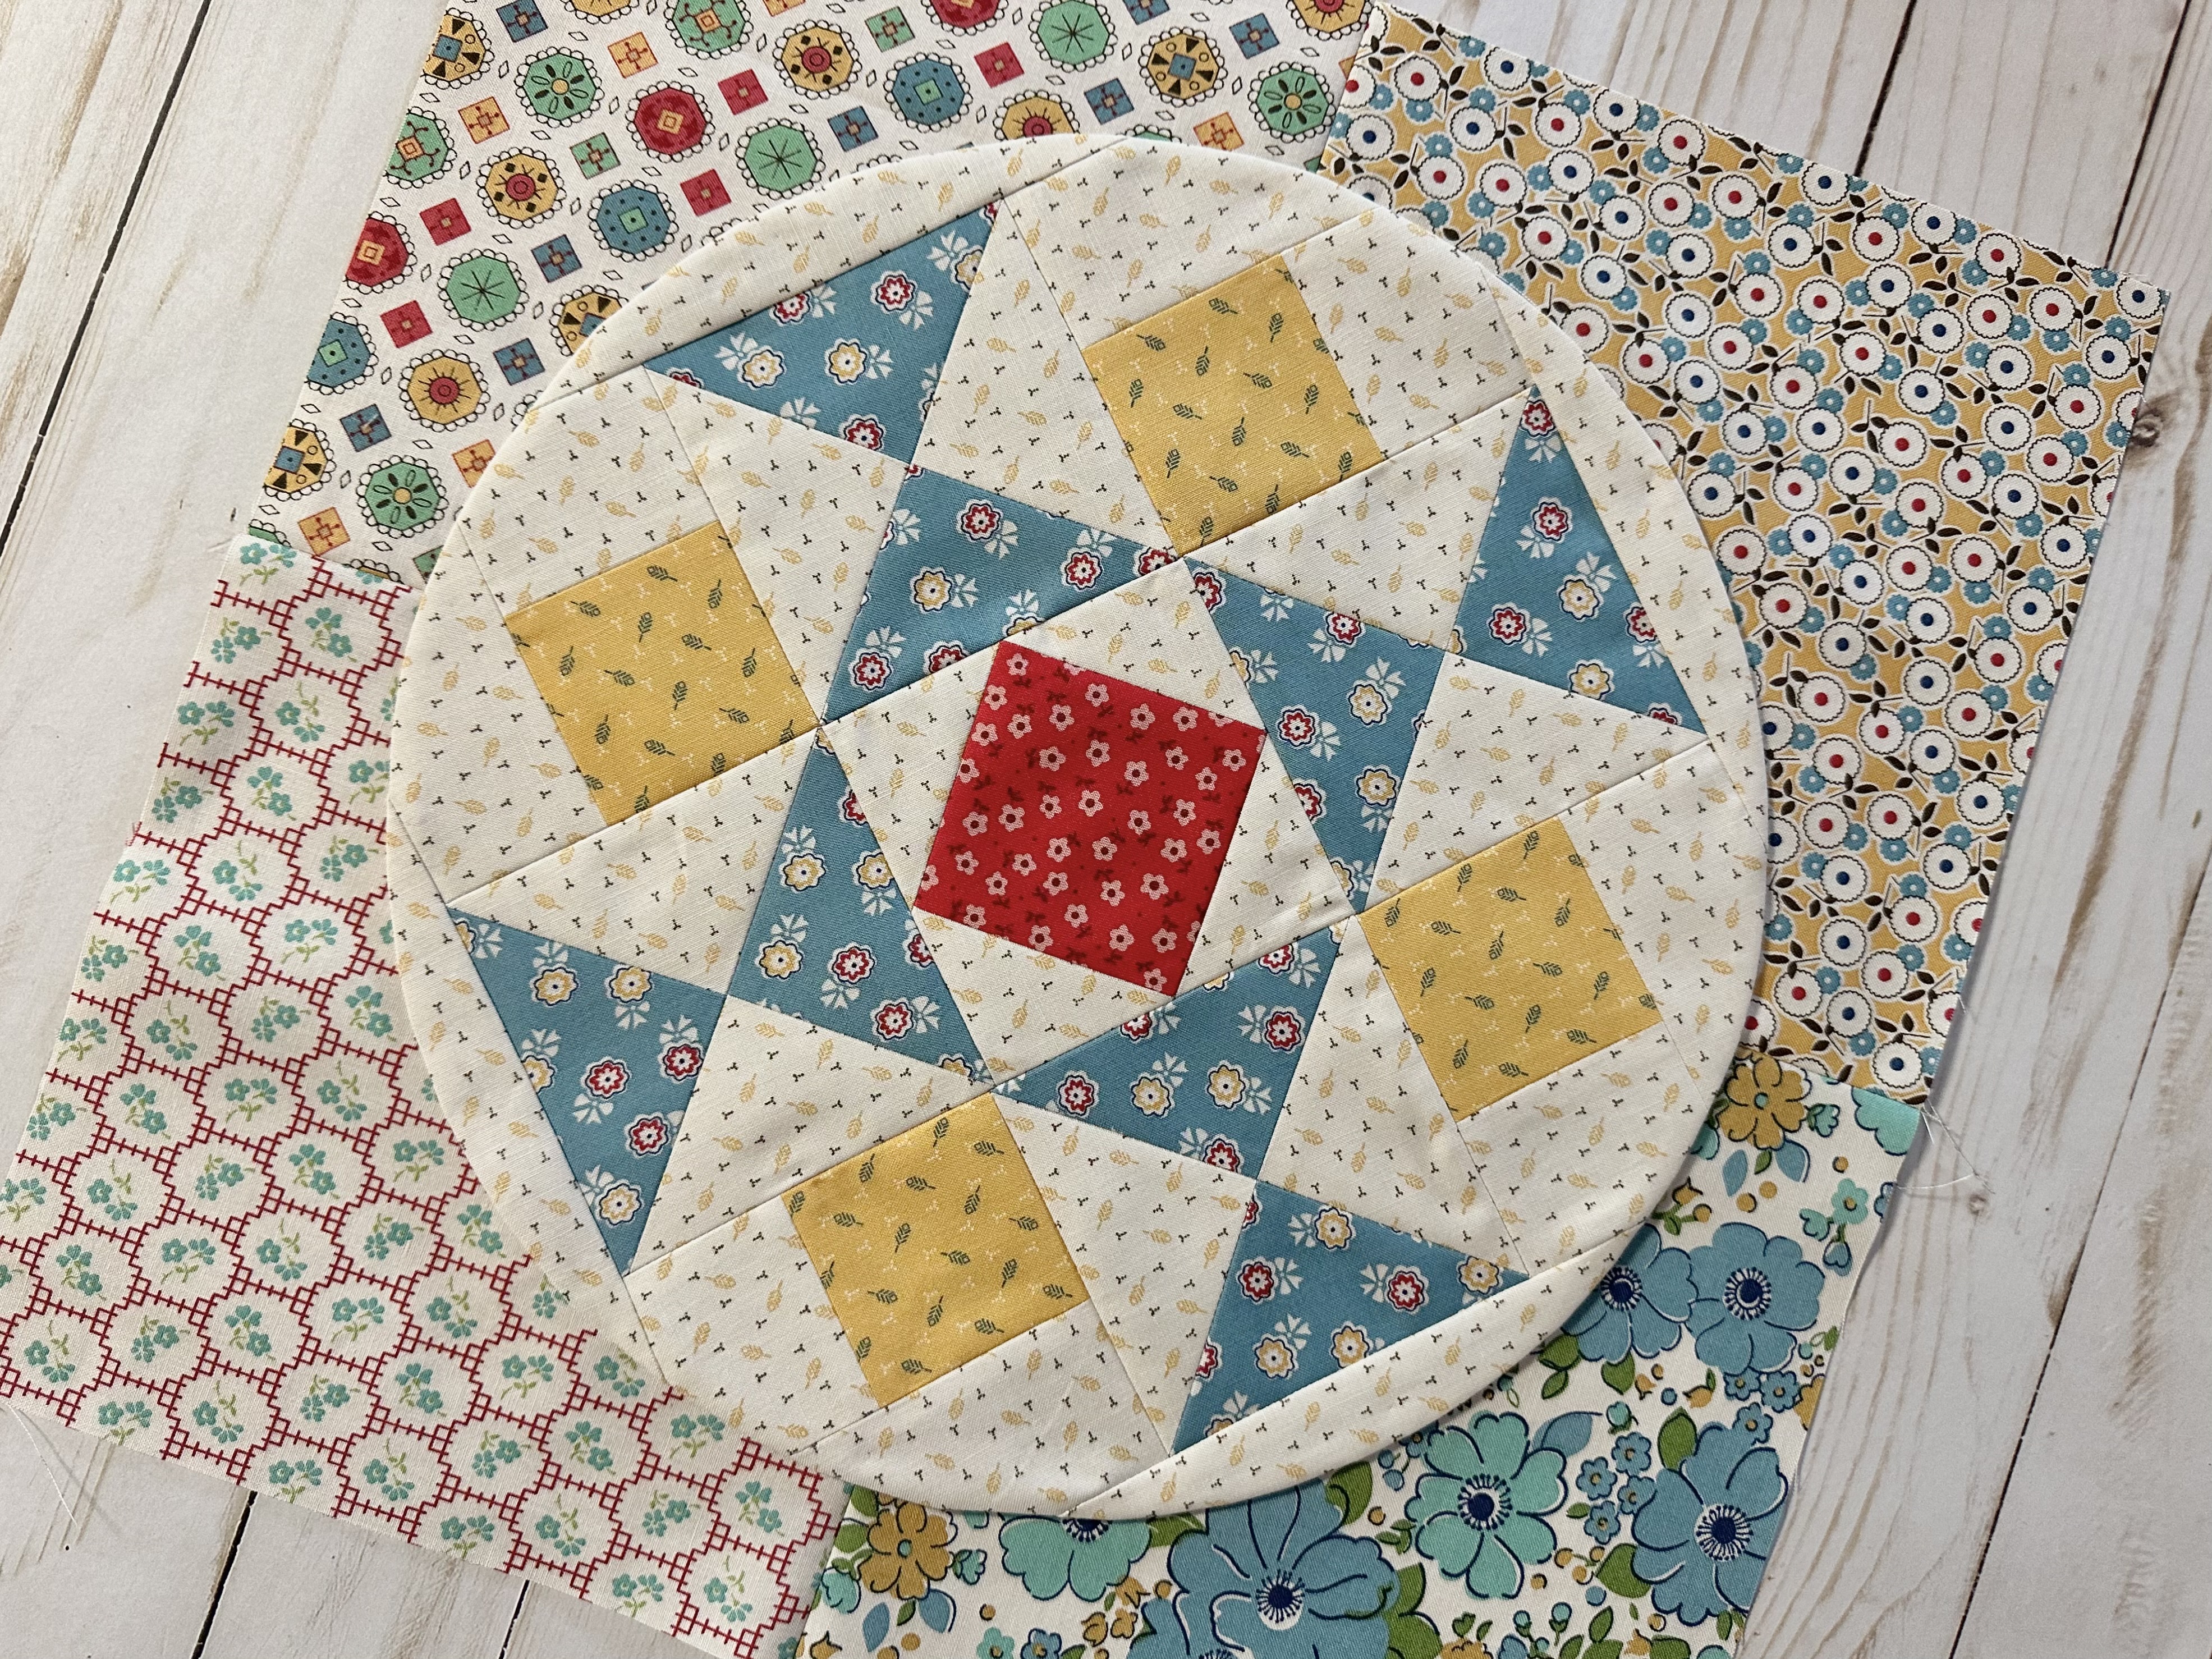
We pieced all 25 blocks
and then turned them into a
12" circle and appliquéd them onto a
4-Patch Block background!
Okay...with all of that being said
here comes LOTS and LOTS
of photos of my finished quilt.
I took many so that hopefully
you can see all of the details
that you would like to:)
Ready-Set-Show!!!


I'm sew excited with how my quilt
turned out and I can't wait to
hang it on my entryway wall:)
I hope that you all have had
fun making your quilt too!!
I thank you from the bottom of my heart
for joining me for this sew along and
making your very own
Mercantile Sampler Quilt.
If you are just now beginning to
make your quilt...
don't worry because each block
tutorial will remain on my blog forever.
Simply bookmark this blog post
and revisit it anytime that you need to.
Then scroll down to the bottom of this post
for the link to each and every block...
but I'll talk more about that
in a few minutes.
First I want to show you
what my next sew along is!!

"HOW TO BUILD A SCARECROW"
Is the quilt that we will besewing together and we will be using
my newest fabric collection
that is just arriving at
quilt shops this month!!

AUTUMN
is going to be sew fun to play with
and I'm really looking forward to
sewing with each and every print..
I love fall quilts and I know
that this is going to be
one of my very favorites.
I hope that you will be joining me..
it starts Monday, MAY 20th and
we will be finished in plenty of time
to display your quilt this fall!!
My BEE PREPARED Post for this
sew along will be this Monday
right here on my blog
so come right back here to find out
all about it:)

Okay...back to telling you about the
Mercantile Sampler Quilt
if you are just getting started.
Here is all of the info and
all of the links that you will need:
First off...as per usual
I detailed all of the supplies
that you needed to make the quilt in my
Bee Prepared post here on my blog.
post not only details
all of the supplies needed but
explains how this sew along worked.
I have also given the links there
for the free PDF Download
of the Sew Along Guides
to download the sew along guide
if you have not downloaded yet.
to download the sampler block
sew along guide.

And again...
as per usual for the first block in my
new fabric collection Sew Alongs
that FIRST tutorial is a video.
I have posted the
Birthday Cake Block
Tutorial there.
to visit my channel and watch the
tutorial and I hope that you love it!
Pretty please leave me a comment
over there and let me know:)
If you like what you see
and my other videos there...
click on subscribe and click on the bell
to be notified whenever
I post another tutorial:)
Okay now for the block info
that you will need...
Here are all of the block tutorial
links in order that I posted them:
ANGEL STAR BLOCK
for the tutorial and blog post

For the tutorial and blog post

GRANDMA'S QUILT BLOCK
for the tutorial and blog post

PUZZLE BLOCK
for the tutorial and blog post

DUCK AND DUCKLINGS BLOCK
for the tutorial and blog post

SPOOL AND BOBBINS BLOCK
for the tutorial and blog post

SODA POP STAR BLOCK
for the tutorial and blog post

SHOPPING BASKET BLOCK
for the tutorial and blog post

9-PATCH STAR BLOCK
for the tutorial and blog post

PEONY BLOCK
for the blog post and tutorial

CHICKADEE BLOCK
for the blog post and tutorial

TOWN DAYS BLOCK
for the blog post and tutorial

YARD GOODS BLOCK
for that blog post and tutorial

CHURN DASH BLOCK
for that blog post and tutorial


(and also the border blocks tutorial
was within that post of the
Churn Dash Block Tutorial)

FLOWER POT BLOCK
for that blog post and tutorial

CROSS ROADS BLOCK
for that blog post and tutorial

SWEET DREAMS BLOCK
for that blog post and tutorial

MEMORIAL DAY BLOCK
for that blog post and tutorial

LADIES AID BLOCK
for that blog post and tutorial

PATCHWORK STAR BLOCK
for the blog post and tutorial
QUARTERS AND DIMES BLOCK
for the blog post and tutorial

PINE TREE BLOCK
for the blog post and tutorial

PLAYGROUND BLOCK
for the blog post and tutorial

THRIFTY BLOCK
for the blog post and tutorial
Happy sewing!!
xx
Lori
